Clear and effective communication enriches the learning experience and fosters community within your course. Brightspace’s Email and the Announcements widget help you establish seamless communication channels with your students. This unit will guide you in optimizing your use of these key tools to maintain consistent, meaningful engagement with your students.
The Announcements tool in Brightspace is a communication feature that allows instructors to post important information prominently on the course homepage. Unlike email, which is used for direct and personal communication, announcements are messages meant for the entire class, ensuring that critical information is the first thing students see when they access the course.
Quick Tips
Announcements
Use the Announcements widget for general updates that apply to the entire class.
Use the Email tool for confidential, one-on-one communication. Access the Email tool from the Classlist under Tools or from Grades.
Set expectations
Guide your students’ expectations for turnaround times to get a reply from you for emails. Let them know if there are times/days when your reply might come quicker or slower.
How to
Access the Announcements tool
From the Announcements Tool, you can manage all course announcements, see past announcements, reorder them, and create new ones to post immediately or to schedule for later.
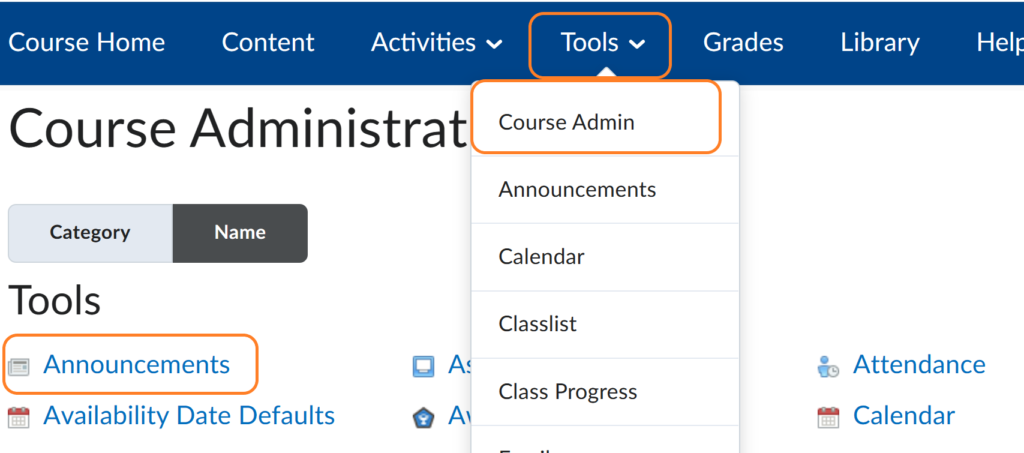
Option A
- Click the Tools link on the Navbar.
- From the drop-down menu, choose the Course Admin link.
- Click on the Announcements link.
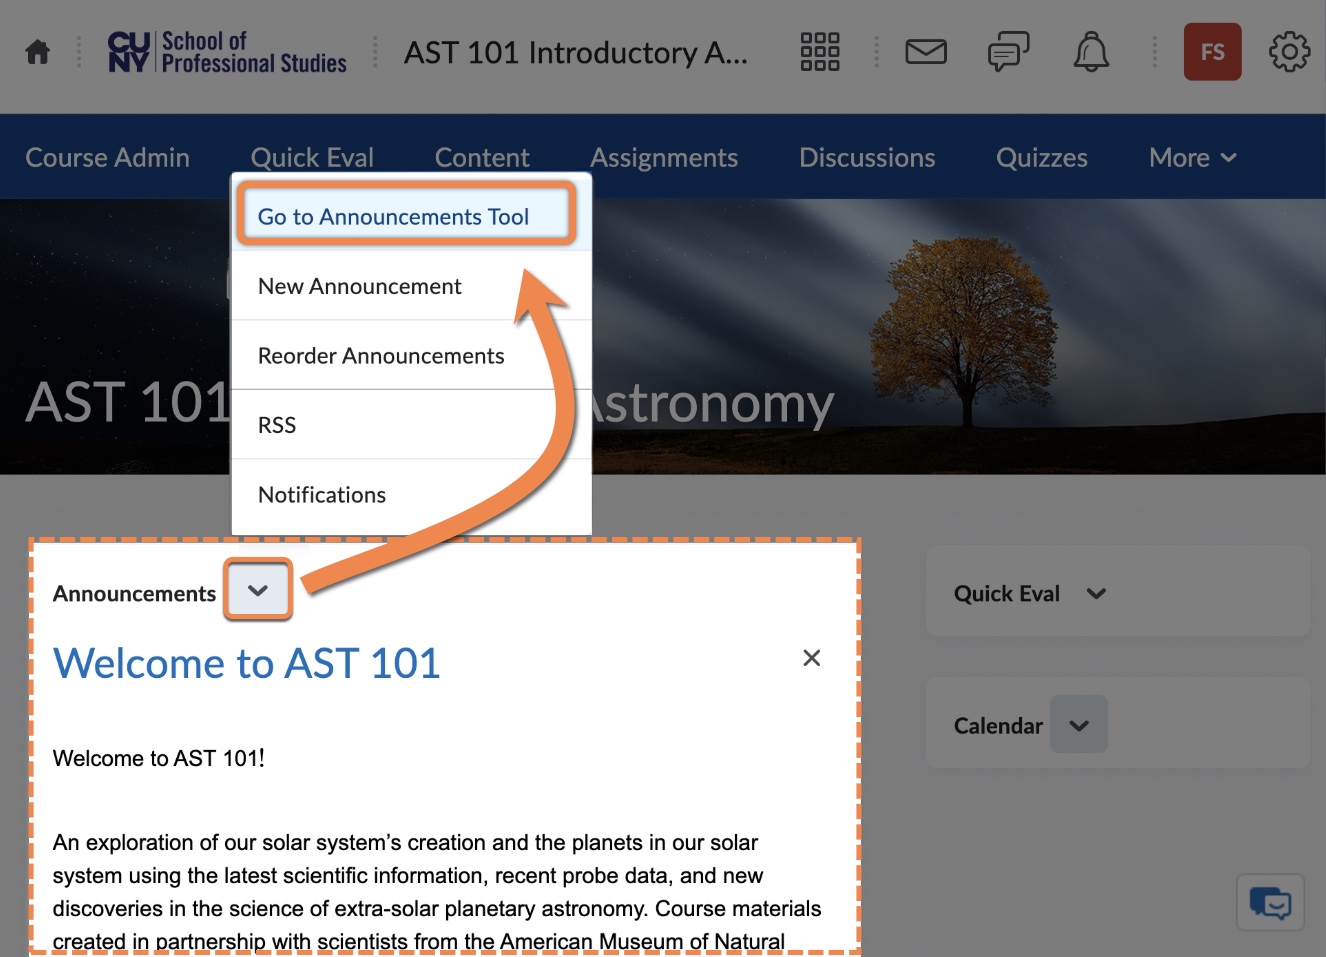
Option B
- Navigate to your Course Homepage.
- Locate the Announcements widget (location may vary).
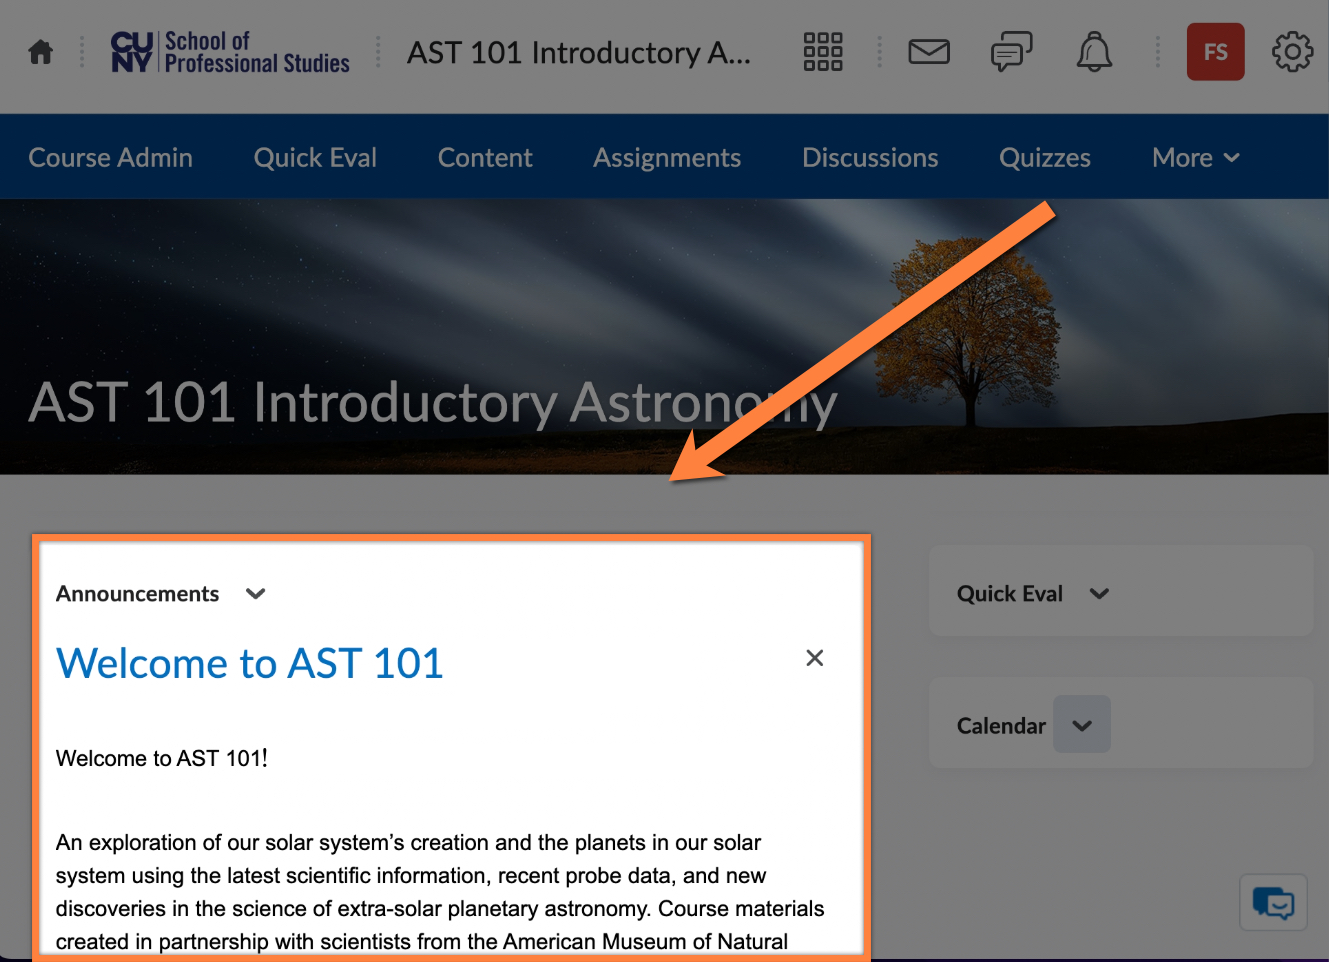
- Click on the arrow next to the Announcements.
- From the dropdown menu, select Go to Announcements Tool.
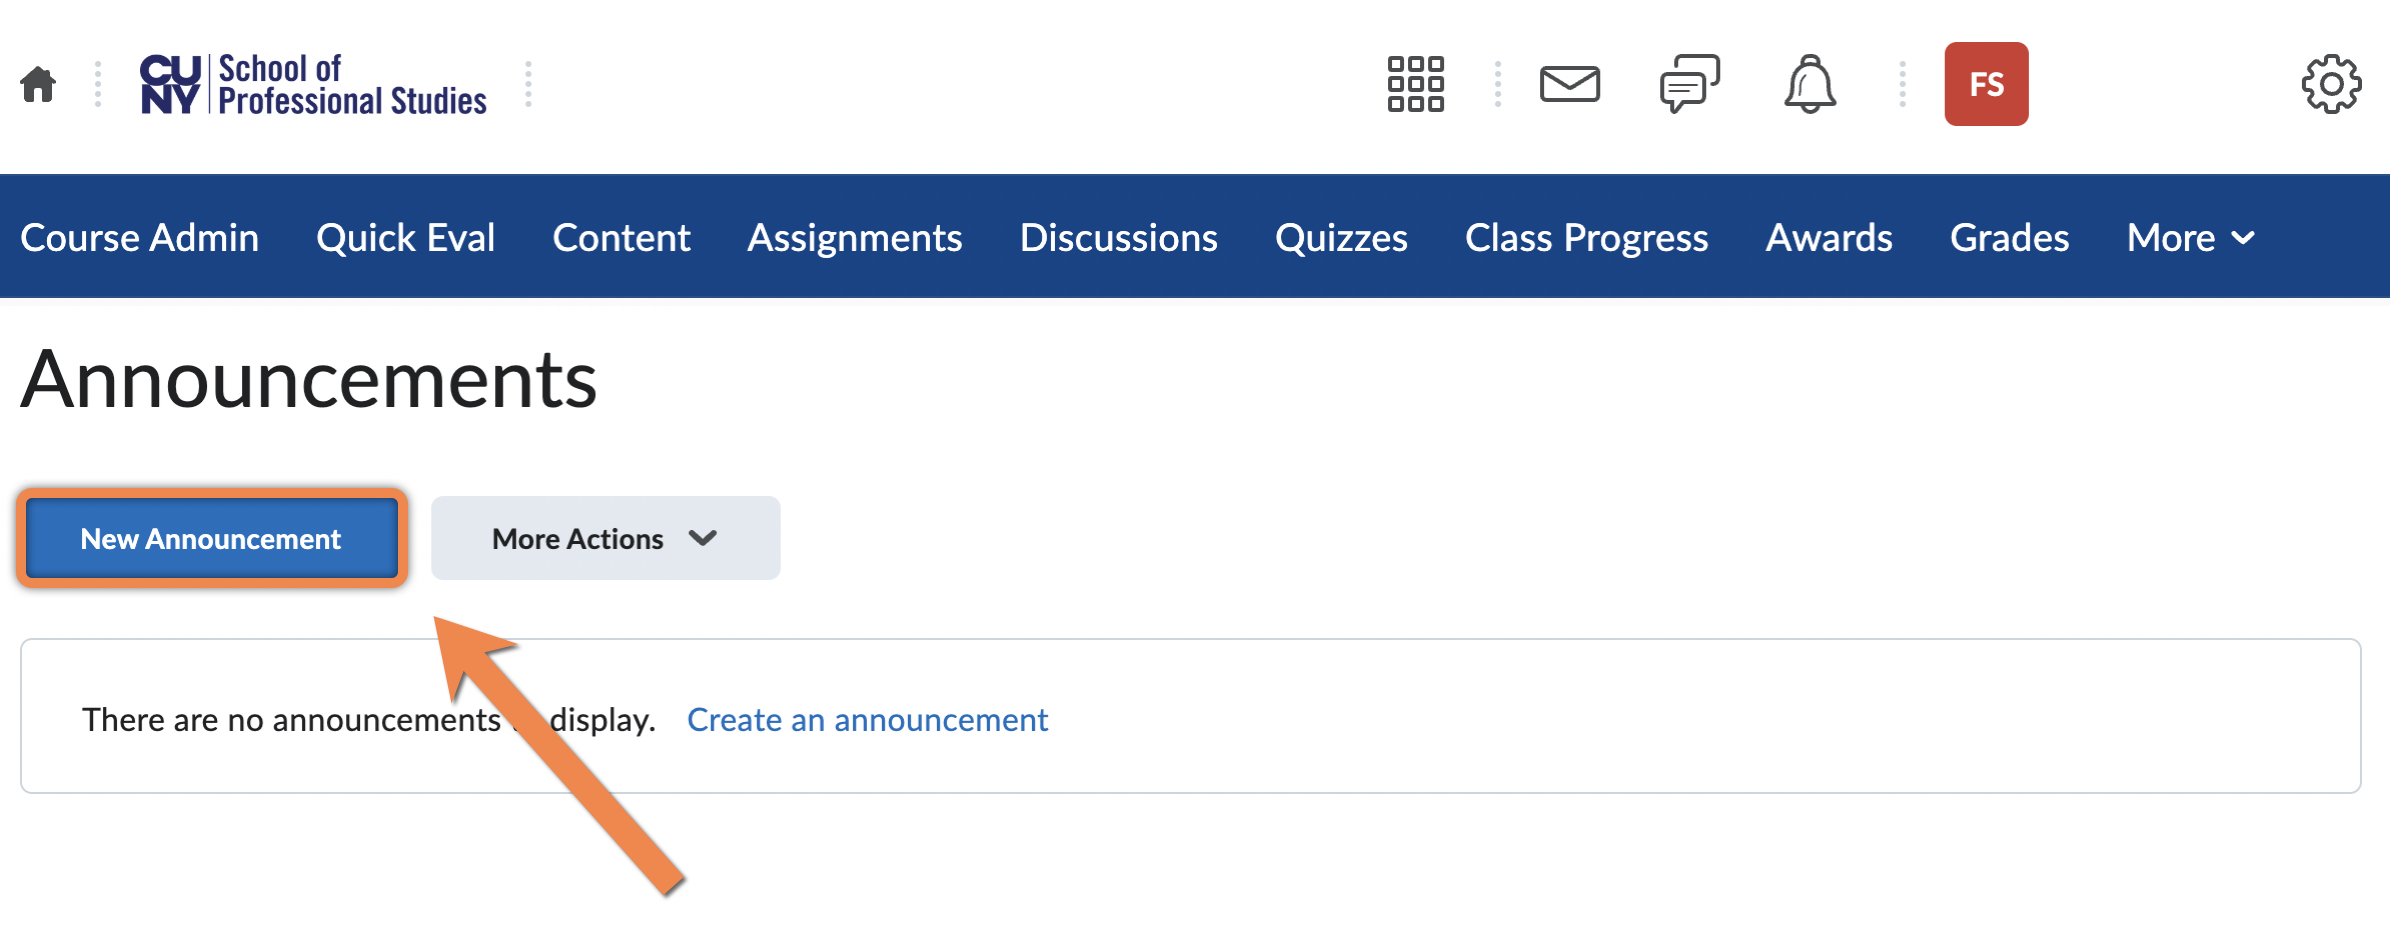
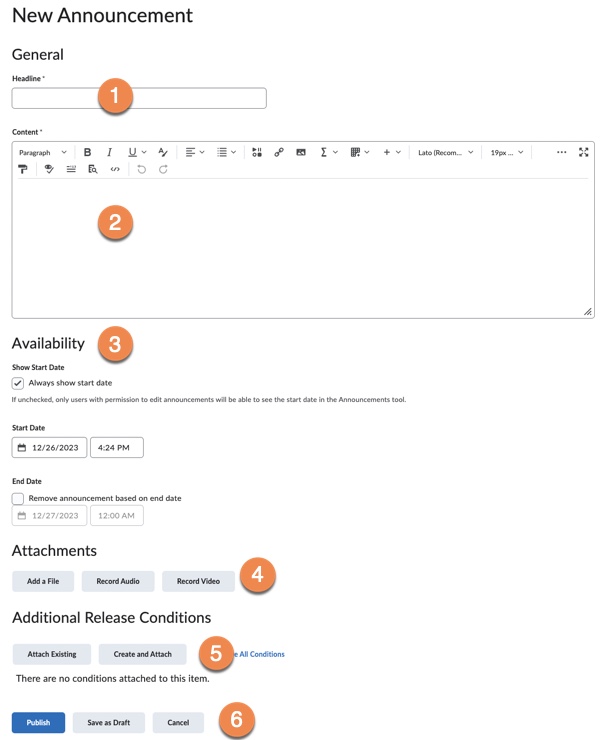
Create a new announcement
- Once in the Announcements tool, click on the New Announcement button.
- Add a Headline (a title) for the announcement.
- Type the message in the Content field. The Brightspace Editor allows you to embed files or multimedia in the body of the announcement using the Insert Stuff button.
- Set date and time availability restrictions (optional).
- Add attachments (optional).
- Set additional Release Conditions (optional).
- Publish, Save as Draft, or Cancel the announcement.
Note: There is no option for instructors to email Announcements to students. Whether students receive an email or SMS notification for a new announcement will depend on how they set up notifications for their own Brightspace account. When they log into Brightspace, they will see the announcement in their Update Alerts in the Minibar at the top of their screen, and they will see it in the Announcements widget on their Brightspace Homepage and on your Course Homepage.
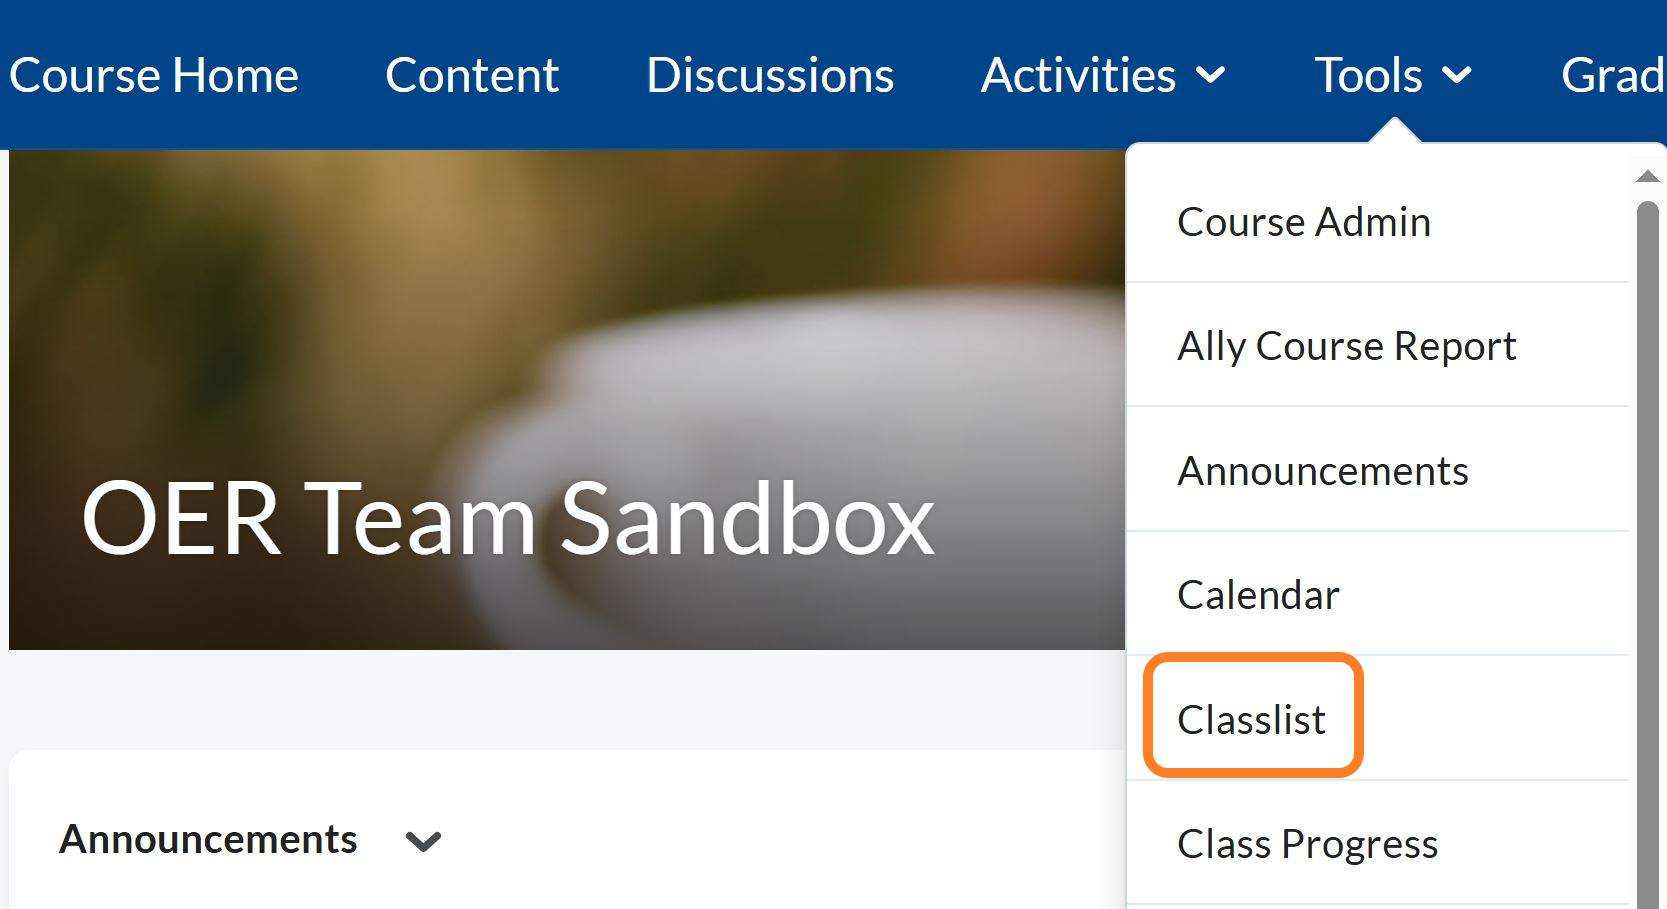
Access Brightspace Email
- Click Tools on the menu bar and then click Classlist.
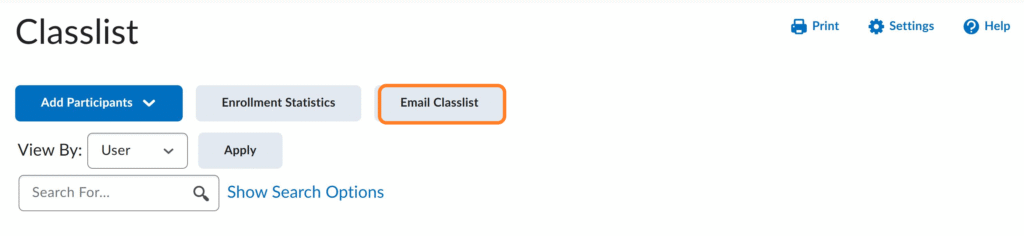
2. Near the top of the newly-opened page, to send an email to the entire class, click Email Classlist button.
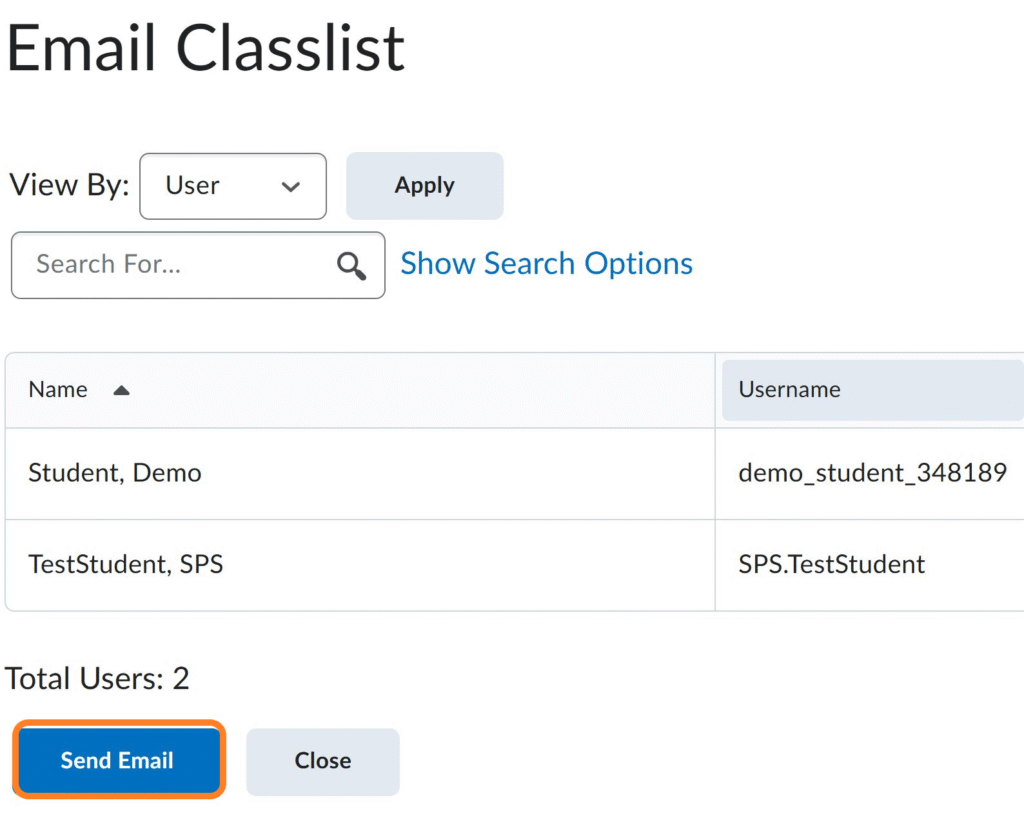
3. This will open a page displaying a list of all your students. click on Send Email button below the student list to begin composing your email.
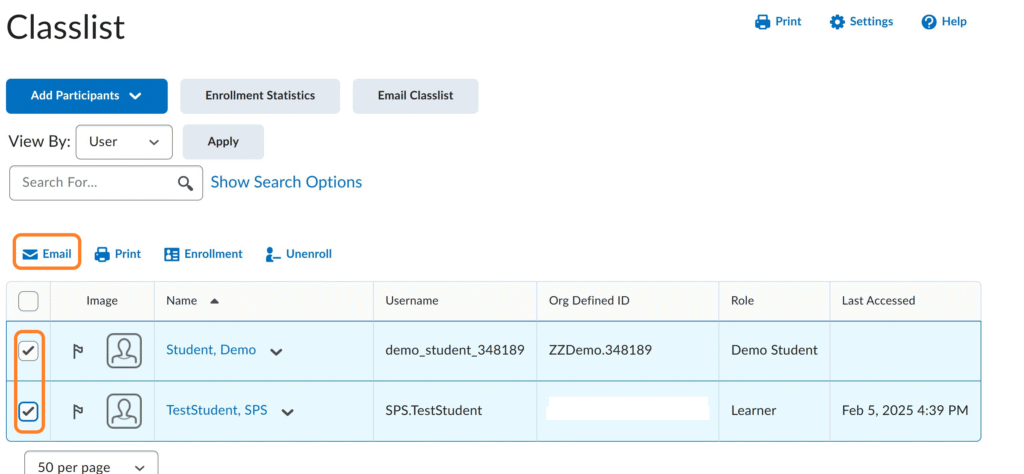
4. To send an email to an individual student, click Classlist. On the Classlist page,
a. Use the Checkboxes to choose the student(s) you wish to email.
b. Click the Email link at the top of the list. This will open a window where you can compose and send your email.
Add an attachment to an email message
Option A
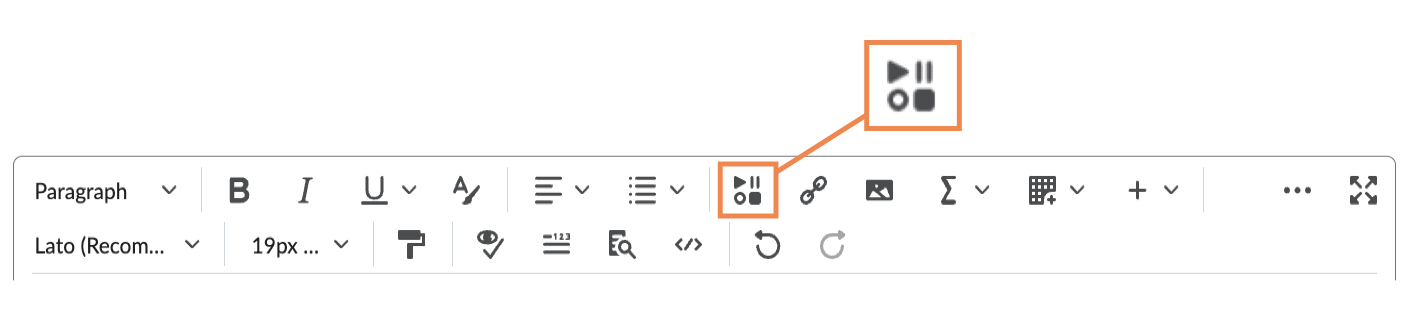
- In the Brightspace Editor for the body of the message, click on the Insert Stuff tool. This allows you to insert files from your own computer or from the course and any of the integrated multimedia platforms available to you in Brightspace.
Option B
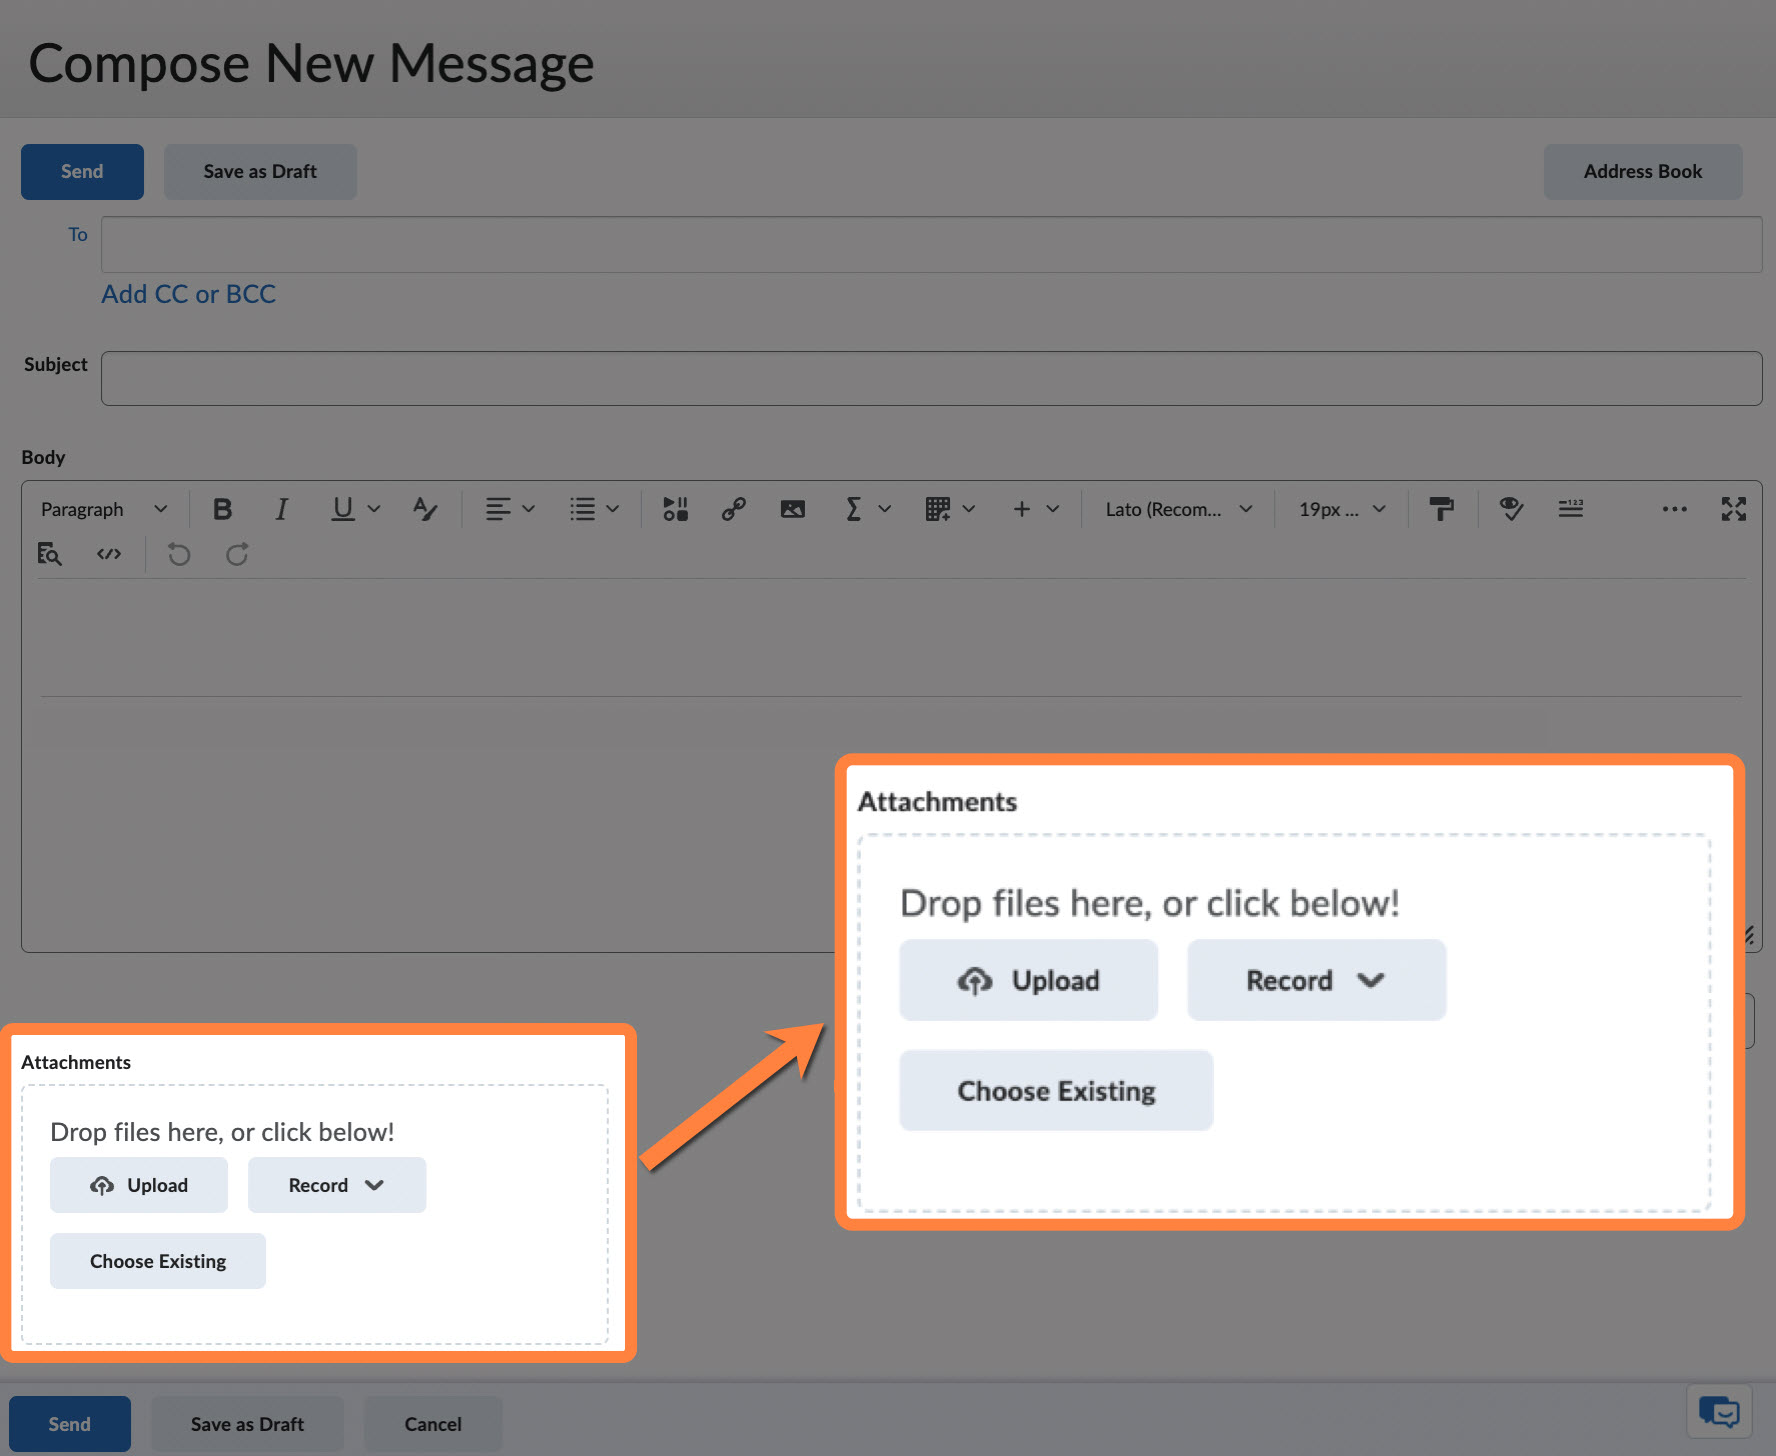
- Scroll down to the bottom of the Compose New Message window to the Attachments box.
- Click on Upload if you wish to attach files from your computer.
- Click on Record to attach a new audio or video attachment.
- Click on Choose Existing if you wish to attach files from your course’s storage in Brightspace or from your Google Drive or your OneDrive.
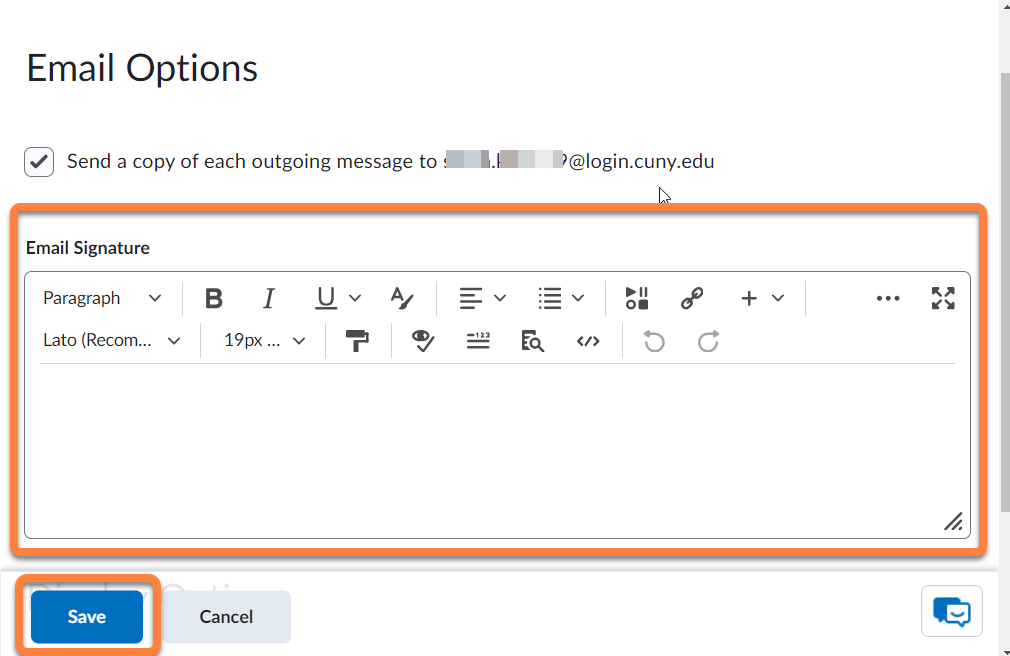
Add and edit your email signature
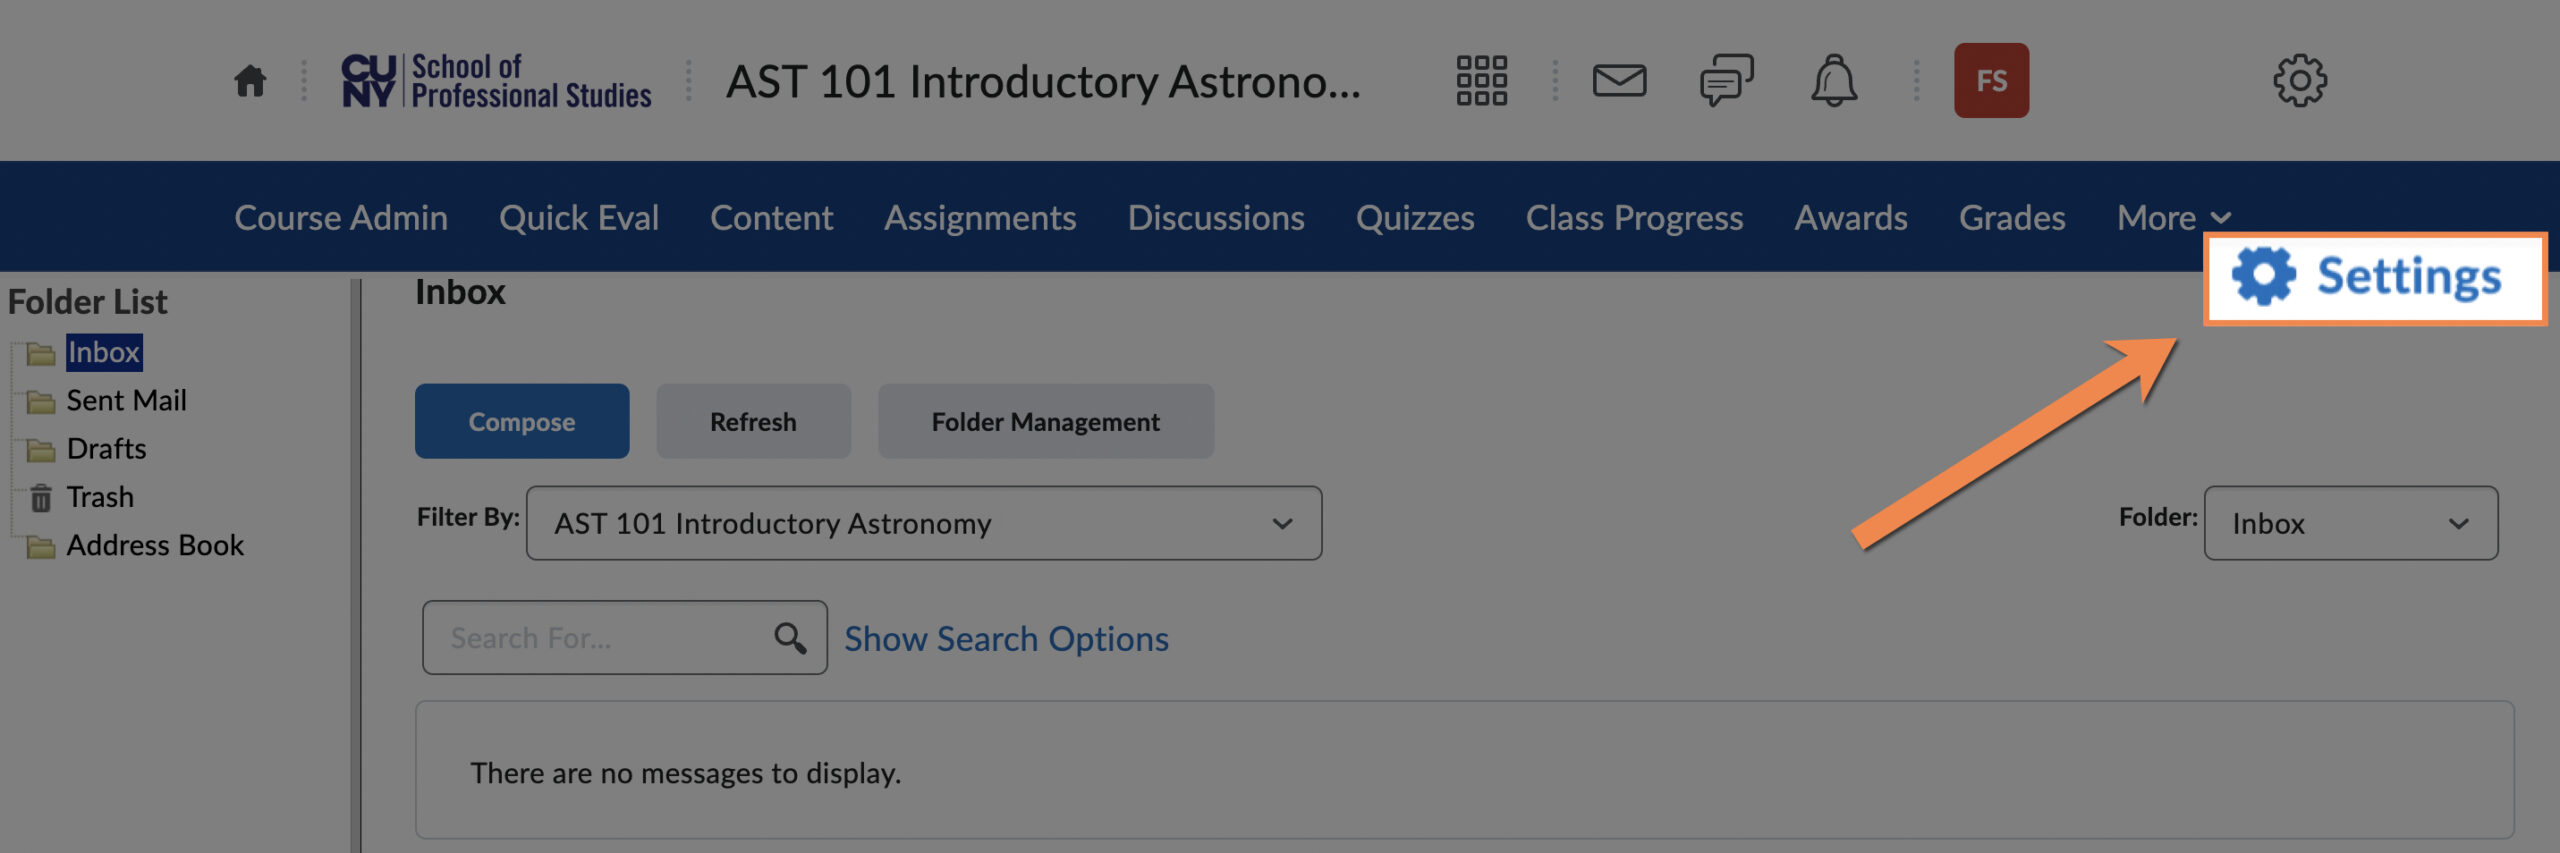
You can add an email signature to your emails to ensure that every message is personal and consistent. To edit your email signature, navigate to the Brightspace Email tool.
- Click the Settings button at the top right of the Brightspace Email window.
- On the Email Settings page, in the Email Signature field, type in your signature, including any special instructions on how students should reply to your email, or when they can expect replies from you.
- Click on Save.
Test Your Knowledge
Take Action
- In your practice site, navigate to the Announcements Tool and post a new announcement.
- Remember to use the Accessibility Checker before posting.
Resources
Text
Brightspace Community: About Announcements
Brightspace Community: Create a welcome message using the Announcements widget
CUNY Brightspace Transition: Training and Resources
CUNY SPS Accessibility Toolkit
Video
Brightspace Tutorials: Announcements – Create an Announcement – Instructor